


How to Test a Proximity Sensor
2025-07-16
How to Test a Proximity Sensor?
Proximity sensors are critical for seamless operation in devices ranging from smartphones to industrial machinery. But like any component, they can malfunction due to dust, wear, or software glitches. Testing a proximity sensor regularly helps catch issues early, preventing frustrating failures—like a phone screen that won’t dim during calls or a robot that fails to detect obstacles. In this guide, we’ll walk through practical methods to test proximity sensors, whether you’re troubleshooting a smartphone or validating an industrial setup.
Why Test a Proximity Sensor?
Before diving into testing, it’s important to understand why these checks matter:
- Prevent Malfunctions: A faulty sensor might fail to trigger actions (e.g., an automatic door not opening) or trigger them incorrectly (e.g., a phone screen dimming when nothing is nearby).
- Ensure Safety: In industrial settings, a failing sensor could allow machinery to operate when a hand is in the danger zone, risking injury.
- Optimize Performance: Testing helps calibrate sensors to their environment, ensuring they respond at the correct distance (e.g., a parking sensor that alerts at 1 meter instead of 30cm).
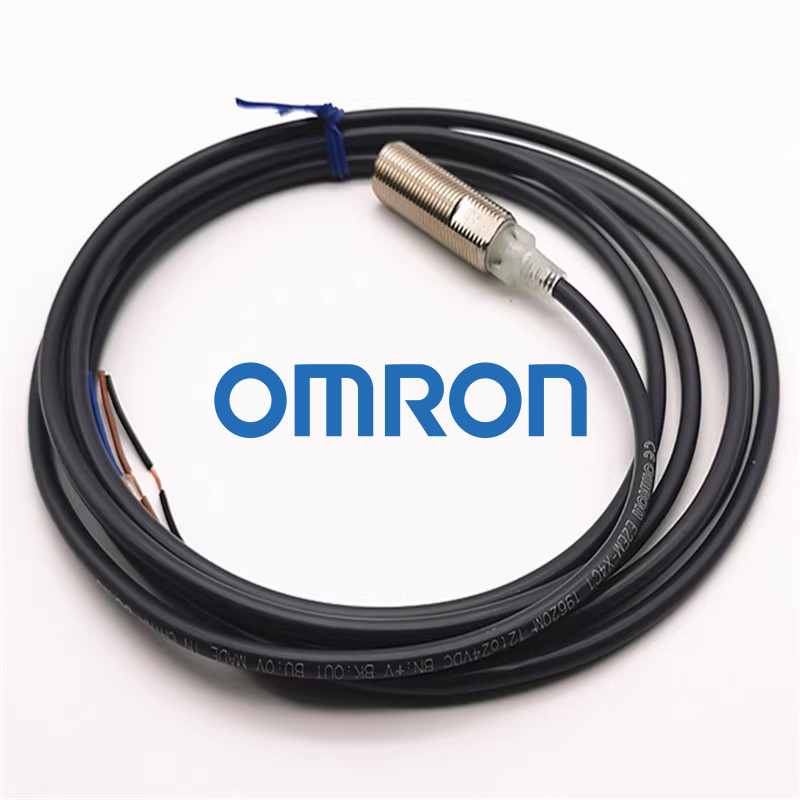
Most sensors benefit from testing every 3–6 months, or whenever you notice unusual behavior.
Preparing for Proximity Sensor Testing
Before starting, gather tools and set up the right conditions to ensure accurate results:
Tools You’ll Need
- Basic Tools: A soft cloth (to clean the sensor), tape or a piece of paper (to block the sensor), and a smartphone (for app-based testing).
- Advanced Tools (for industrial sensors): A multimeter, oscilloscope, or signal generator.
- Environmental Controls: Avoid direct sunlight (for IR sensors), loud noises (for ultrasonic sensors), or metal objects (for inductive sensors) that could interfere with readings.
Safety First
- For industrial sensors: Disconnect power before handling wiring to avoid electric shock.
- For smartphones: Close all apps to prevent background processes from interfering with test results.
Testing Proximity Sensors in Consumer Devices
Consumer devices like smartphones, tablets, and smart speakers use proximity sensors that are easy to test with simple methods.
Testing a Smartphone Proximity Sensor
Smartphones rely on IR proximity sensors to control screen behavior during calls. Here’s how to verify theirs functionality:
1. Manual Trigger Test
- Step 1: Open the Phone app and call a friend or a voicemail service (to simulate an active call).
- Step 2: Hold the phone as you would during a call, keeping your hand away from the top edge (where the sensor is located). The screen should stay on.
- Step 3: Slowly move your hand or a piece of paper over the sensor (usually near the front camera). The screen should dim or turn off immediately.
- Step 4: Remove your hand—the screen should light up again within 1–2 seconds.
- What to Note: If the screen doesn’t dim, the sensor may be blocked by a case, dirty, or faulty. If it stays off after removing your hand, there may be a software glitch.
2. Using Diagnostic Apps
Several apps simplify sensor testing by providing real-time data:
- Android: “Proximity Sensor Test” (free on Google Play) shows a live reading of distance (in cm) as you move objects near the sensor. A healthy sensor should register 0–1cm when blocked and 5+cm when clear.
- iOS: “Sensor Test” (via TestFlight or App Store) displays proximity sensor status, with a graph that spikes when an object is detected.
- How to Use: Open the app, cover the sensor, and observe the readings. Inconsistent spikes (e.g., no change when blocked) indicate issues.
3. Factory Diagnostic Mode
Many Android phones have a built-in diagnostic menu:
- Dial *#0*# (works on Samsung, LG, and Google Pixel devices) to access the test menu.
- Select “Proximity” or “Sensor” from the options.
- Follow on-screen prompts: cover the sensor, and check if the screen toggles between “Near” and “Far” states.
Testing Industrial Proximity Sensors
Industrial sensors (used in manufacturing, robotics, or automotive systems) require more rigorous testing due to their critical role in safety and efficiency.
1. Visual Inspection and Physical Checks
- Clean the Sensor: Dust, oil, or debris can block IR or ultrasonic sensors. Use compressed air or a lint-free cloth with isopropyl alcohol to clean the sensor face.
- Check Wiring: Loose or corroded connections are common culprits. Inspect cables for fraying, and ensure terminals are tight (use a screwdriver to test for wiggling).
- Verify Alignment: Industrial sensors (e.g., inductive sensors on conveyor belts) must be positioned correctly. Use a ruler to confirm the sensor is mounted at the specified distance from the target (e.g., 5–10mm for inductive sensors).
2. Functional Testing with a Target Object
- Inductive Sensors (metal detection):
-
- Power the sensor and connect it to a multimeter set to measure voltage (DC).
-
- Bring a metal object (e.g., a steel washer) within the sensor’s rated range (typically 1–20mm). The multimeter should switch from 0V to the supply voltage (e.g., 24V) when the object is detected.
-
- Move the object away—the voltage should drop back to 0V. A failure to switch indicates a faulty sensor or incorrect wiring.
- Ultrasonic Sensors:
-
- Connect the sensor to a controller or oscilloscope.
-
- Activate the sensor and place a target (e.g., a cardboard box) at the minimum range (e.g., 20cm) and maximum range (e.g., 5m).
-
- The sensor should trigger an output (e.g., a relay click) at both distances. If it fails at max range, check for obstructions or low power.
- Capacitive Sensors:
-
- Test with both conductive (metal) and non-conductive (plastic) objects, as these sensors should detect both.
-
- Bring a plastic bottle within range—the sensor should activate. Repeat with a metal can to confirm consistent behavior.
3. Advanced Testing with Instruments
- Multimeter: Measure the sensor’s output voltage in “no object” and “object detected” states. For a PNP sensor (common in industry), expect 0V when idle and 24V when triggered; NPN sensors show 24V idle and 0V triggered.
- Oscilloscope: Connect the sensor’s output to an oscilloscope to visualize signal patterns. A healthy IR sensor emits a steady 38kHz pulse train when active, with a spike in amplitude when an object reflects light.
- Signal Generator: For ultrasonic sensors, use a generator to simulate input signals and verify the receiver’s response—ensuring it detects the correct frequency (e.g., 40kHz).
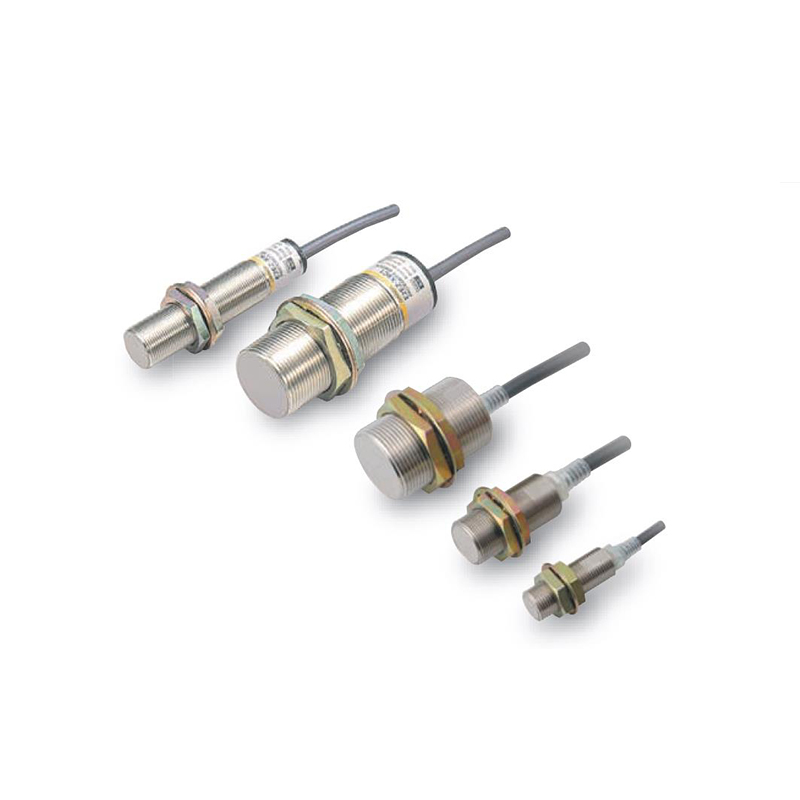
Troubleshooting Common Proximity Sensor Issues
If tests reveal problems, use these steps to diagnose the root cause:
1. Sensor Doesn’t Trigger at All
- Check Power Supply: Use a multimeter to confirm the sensor receives the correct voltage (e.g., 5V for small sensors, 24V for industrial models). Low voltage (e.g., 18V instead of 24V) can disable functionality.
- Inspect for Physical Damage: Cracks in the sensor lens (common in IR/ultrasonic models) block energy transmission. Replace the sensor if the lens is damaged.
- Test in a Controlled Environment: For IR sensors, move away from direct sunlight—sunlight contains infrared wavelengths that can overwhelm the receiver.
2. False Triggers (Sensor Activates When No Object Is Present)
- Adjust Sensitivity: Many industrial sensors have a potentiometer to tweak detection range. Turn it counterclockwise to reduce sensitivity and prevent false triggers from dust or vibrations.
- Shield from Interference: Inductive sensors near motors or transformers may pick up electromagnetic noise. Add a metal shield around the sensor or relocate it farther from the noise source.
- Check for Cross-Talk: In systems with multiple sensors (e.g., two ultrasonic sensors), signals can interfere. Space them at least 30cm apart or use sensors with different frequencies (e.g., 40kHz and 60kHz).
3. Inconsistent Range (Triggers at Random Distances)
- Recalibrate the Sensor: Industrial sensors often have a calibration button—press it while holding a target at the desired range (e.g., 10cm) to reset the threshold.
- Replace Aging Components: IR LEDs degrade over time (after 50,000+ hours of use), reducing range. Look for dimming in the LED (visible with a camera, as IR light shows up on phone cameras) to confirm wear.
Best Practices for Effective Proximity Sensor Testing
- Test in Real-World Conditions: Simulate the sensor’s actual use case—e.g., test a parking sensor with a car tire (not just a cardboard box) to account for material differences.
- Document Results: Record trigger distances, voltage readings, and response times. Compare new results to baseline measurements (taken when the sensor was new) to spot gradual degradation.
- Test After Repairs: If you clean, adjust, or rewire a sensor, retest to ensure the fix worked. For example, after cleaning an IR sensor, verify it now triggers consistently at 2cm.
- Schedule Regular Tests: Industrial sensors in harsh environments (e.g., factories with dust or moisture) should be tested monthly. Consumer devices can be checked quarterly or when issues arise.
Conclusion
Testing a proximity sensor is a straightforward process that combines simple observations and, in some cases, basic tools. Whether you’re verifying a smartphone’s screen behavior or ensuring an industrial robot stops safely, regular testing ensures your sensor responds reliably to objects in its range. By following these steps—from manual checks to advanced instrument testing—you can catch issues early, reduce downtime, and keep devices functioning as intended.
How to Control a Servo Motor with a PLC
How Does a Proximity Sensor Work
Related Article

Brushless DC (BLDC) motors are widely used in EVs, drones, industrial machinery, and robotics for their efficiency and long lifespan. Unlike brushed motors—where reversing direction only requires swapping power leads—BLDC motors rely on electronic commutation, making direction reversal more nuanced.
How to Reverse Direction in Brushless Motors
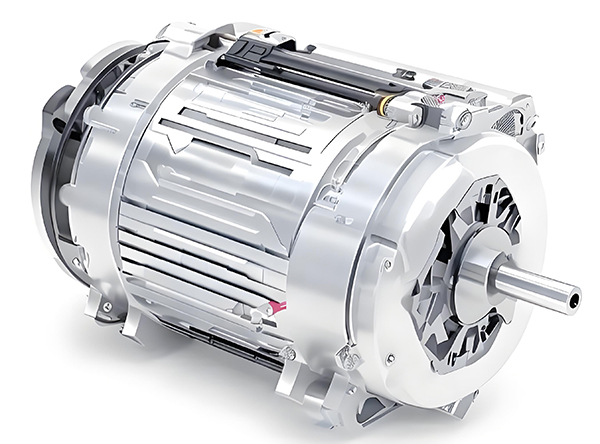
Brushed and brushless DC motors are two of the most common electric motor designs, powering everything from toys to electric vehicles. While both convert electrical energy to mechanical motion, their internal structures, performance, and use cases differ drastically.
What’s the Difference Between a Brushed and Brushless Motor
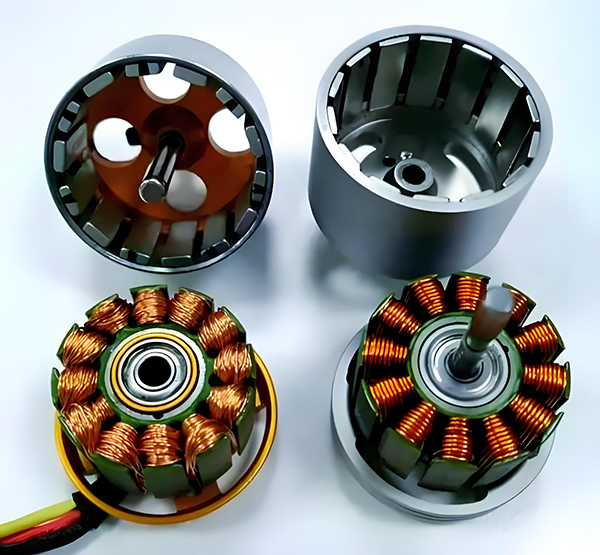
Brushed DC motors are reliable, but wear and tear over time can lead to failure. Whether you’re troubleshooting a power tool, household appliance, or industrial conveyor motor, knowing the signs of a bad brushed motor saves time and prevents further damage.
How to Know If a Brushed Motor Is Bad
